We all know why you’re here. You’re interested in learning how to build a truly amazing Shopify store. You’ve sieved through dozens of Shopify themes but unable to find one that fits, or you’ve applied one but are unsure about the results.
In either case, optimizing the theme to make it work for you would be an essential move.
With that in mind, we’ll guide you through the steps to Shopify theme customization. By the end of this, you’ll have yourself a complete Shopify store that converts.
Steps to increase conversions by customizing themes
Step 1: Pick a good theme
If you don’t have one yet, here’s a beginner’s guide on how to find a good theme & change your current one.
Step 2: Tools for Shopify Theme Customization
For most Shopify themes, you can customize them somewhat using the default Shopify editor. Access this by going to Online Store > Themes > Customize for the theme you want to edit.
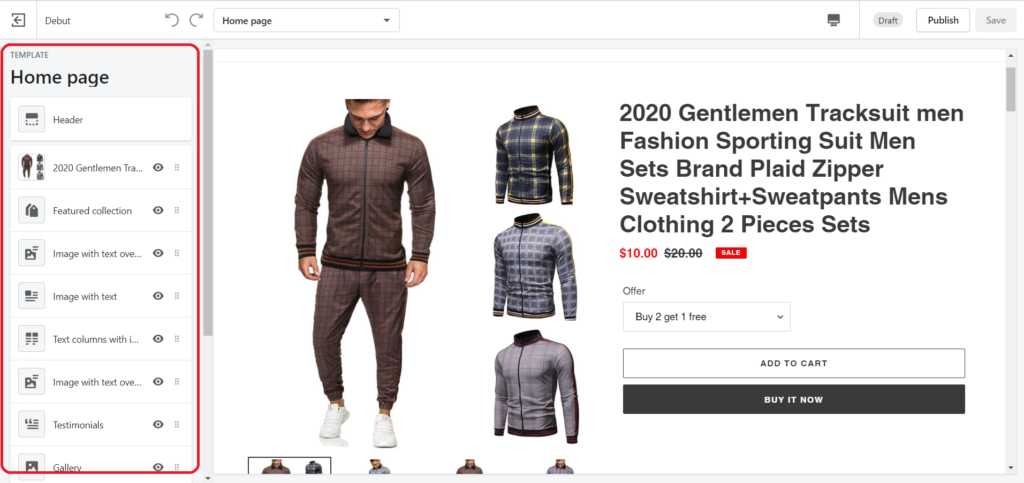
The tool allows you basic editing of your theme such as: switching out images, rearranging sections, changing text sizes, etc. Pretty straightforward.
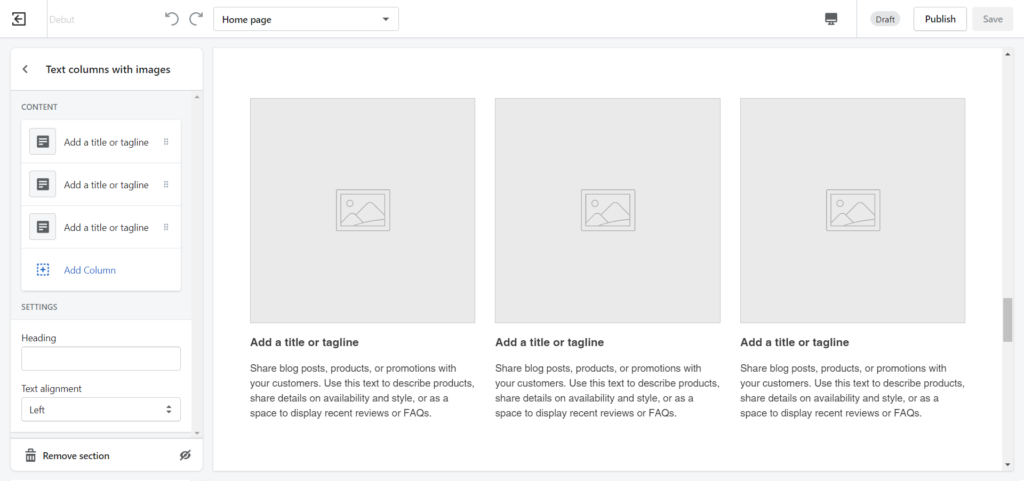
Overall, its main function is to input images and texts you want into the theme. There are a few options to change colors, effects, styling, etc.
For the more advanced and useful optimization techniques, you have three options:
- Option #1: Using a page builder app similar to Gempages Page Builder. These apps let you build individual pages using a drag-and-drop interface. They also come with premade sections and layouts to make the job easier. This is recommendable if you’re trying to create complex and high-performing custom landing pages.
- Option #2: Using a customizable theme like EcomSolid, which has its own more robust editor. EcomSolid lets you add extra things to your theme, like animation effects, headers, footers, sales-booster addons, etc. This is a comprehensive and budget-friendly option since you won’t have to pay for extra apps.
- Option #3: Editing code of the Shopify theme. You can access this by going to Online Store > Themes > Action > Edit Code. Note that this is complicated and only recommended for the pros, but in case you want some pointers, we have a guide to adding custom CSS to Shopify.
Now that you know what tools you need, it’s time to get to work and optimize pages. Make sure to follow each step closely.
Step 3: Create a high-converting landing page
A landing page would be the ideal place to start.
Themes don’t usually come with landing page templates and even if they do, there are just way too many variables for them to work correctly.
Whatever your goal is: generating sales or collecting emails, having a custom landing page is required to achieve the most conversions.
Using a page builder is usually the recommended way to do this. We’ve listed out in a separate article all the steps and options for you to quickly create a high-converting Shopify landing page.
Step 4: Optimize product pages for conversions
A shockingly low 0.9 percent of Shopify mobile visits end up buying. The remaining 99.1 percent leave to never return.
In fact, if your conversion rate is not at least three times higher than 0.9 then you’ve got a problem: your product page is failing you.
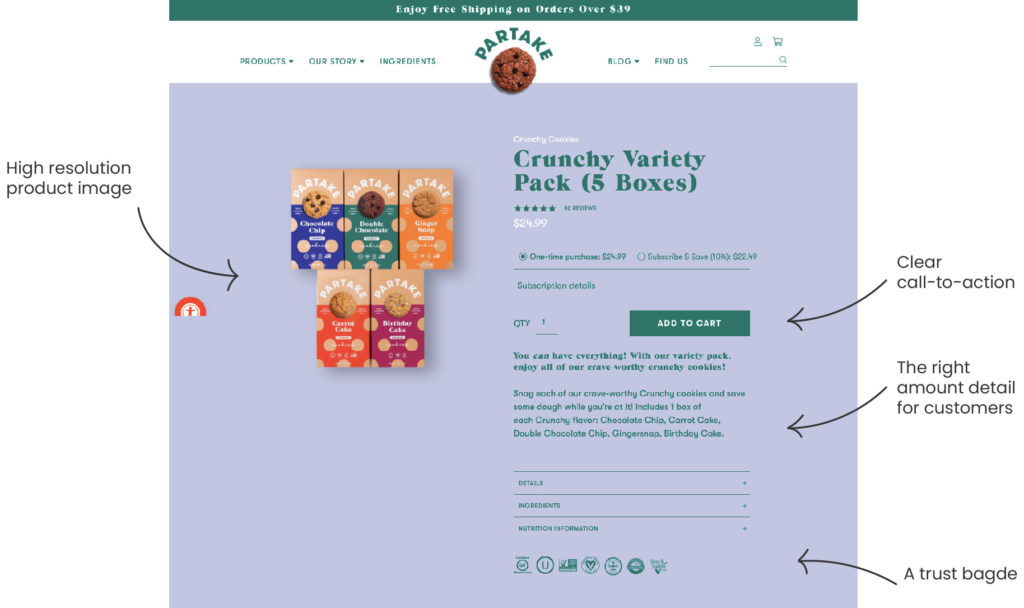
To help you avoid this, we have listed out key factors of high-converting one-product pages.
These will give you ideas for how to optimize product pages. What’s more? We suggest what themes to use and what elements to include in a great product page.
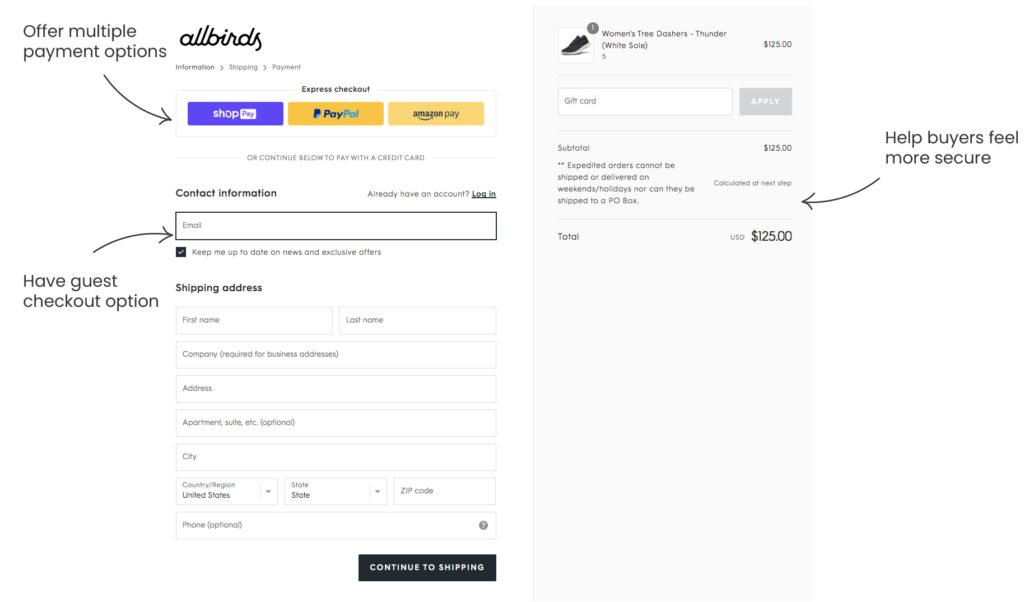
Step 5: Edit Checkout page & avoid cart abandonment
If you already have a Shopify store, do me a favour now and go to Orders > Abandoned Checkouts from the Shopify admin page.
Chances are, you’re going to see a heap of customers who got all the way to checkout only to exit entirely.
That is usually due to the checkout page not being optimized at all by your theme.
By editing the checkout page yourself, you will instantly improve customers’ experience and reduce cart abandonment. It could be the single most effective change you make.
To start with this, read our detailed guide for the best practices and technical instructions to follow when building a great Shopify checkout page.
Step 6: Edit the Shopify Thank you page for cross-selling
Even after customers have made a purchase, your job is not done yet.
Think about it. They’ve already made the big decision to purchase from your store. Now, any additional offers from you will suddenly seem more attractive.
Imagine having personalized product recommendations on the Thank you page to trigger impulse buying or a survey to collect more information. Editing the Thank you page gives you all of those options and more.
Need a 101 on how to edit your Shopify thank you page? We got your back.
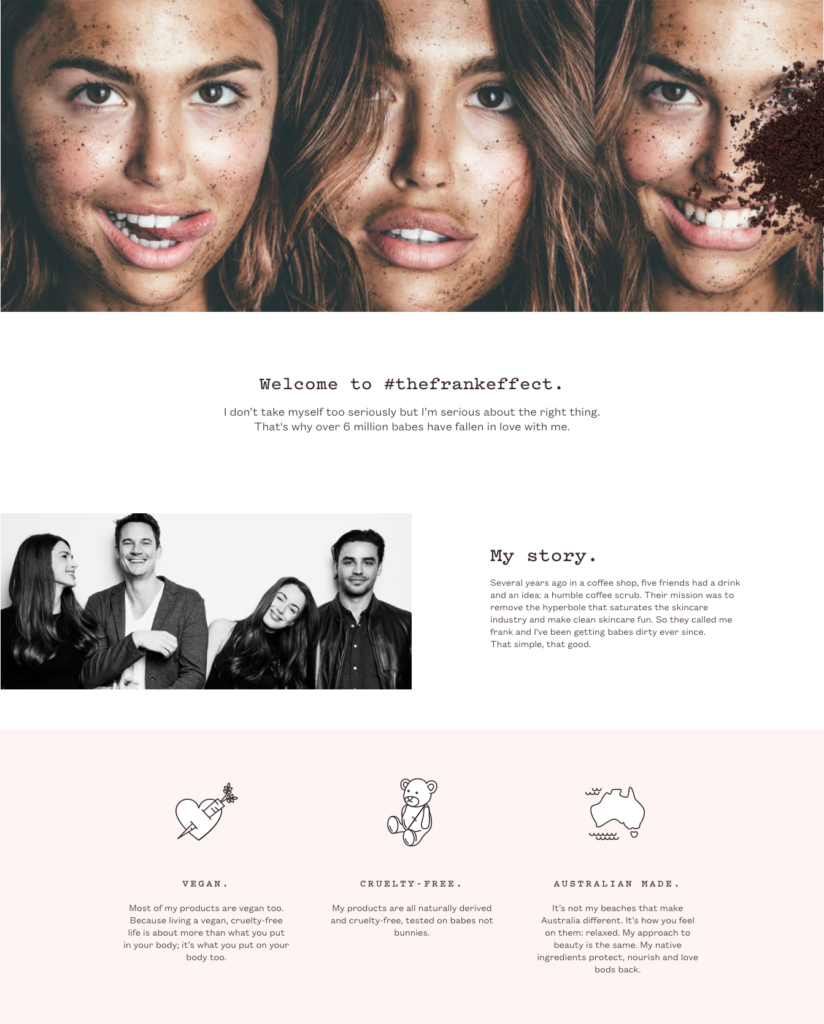
Step 7: Make a truly inspiring About us page
Imagine: you’ve found a store with appealing products, but you’ve never heard of the brand before. How would you know if they are trustworthy for you to purchase?
You’ll click on the About us page, of course.
A great About us page is where you get to tell customers your story, establish why they should trust you, and ultimately, inspire them to buy.
In a competitive market, an inspiring About us story can really make a difference!
Check out our guide on creating a memorable About us page. We’ll go through the secrets that sets an effective About us page apart, with examples and actionable steps.
Step 8: Prepare a Coming soon page for early leads
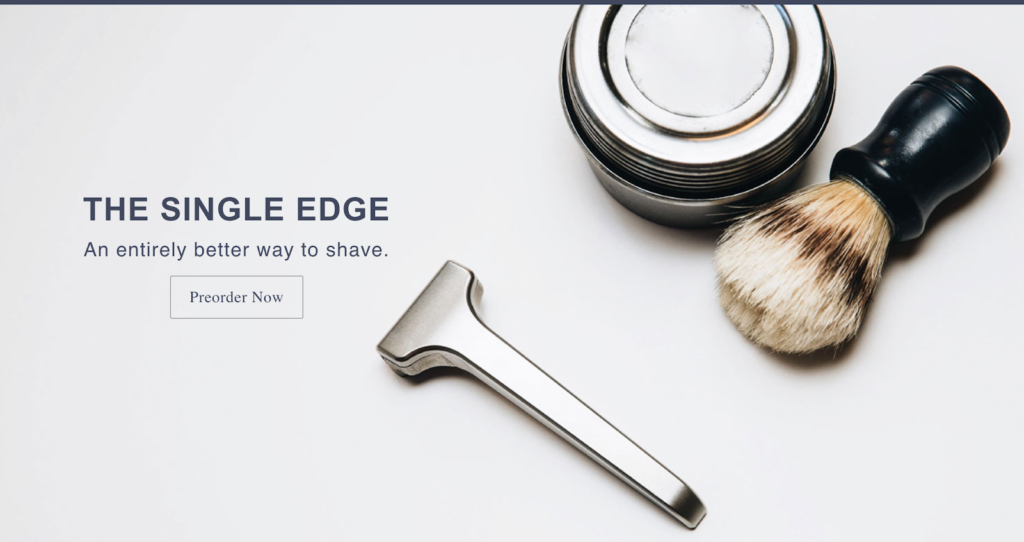
Developing a new store takes time. If you wait until it is ready, you could miss out on opportunities to grow your brand, get feedback, and build an audience.
Instead, you can invite your acquaintances or old customers to subscribe and they will receive notifications once your store is ready. That way, you’ll get visitors as soon as you start!
Sound interesting?
Then you’d better start thinking about customizing your own Shopify coming soon page now!
Step 9: Start blogging on Shopify for increased traffic
One big issue that every small business owner will eventually face is relying too much on advertising.
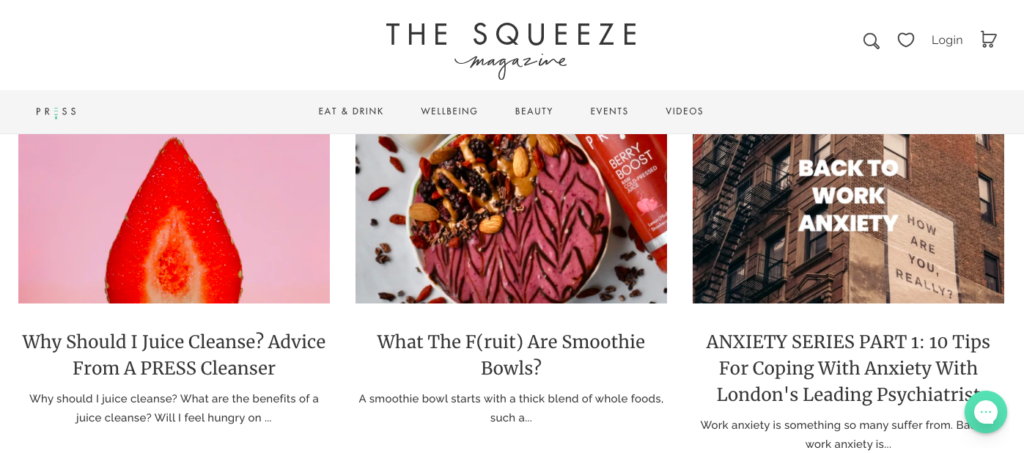
One effective solution to that, for serious sellers, is building a blog and start gaining organic traffic. The more content you create, the more organic search traffic land on your store, some of which will become buyers.
More than that, by creating your own blog content, you are displaying a trustworthy and helpful image to customers.
Such an opportunity can’t be missed.
To start, here are some amazing Shopify blog examples that you can use as a starting point for blog designs, content ideas, marketing strategies, and more.
Let’s do it!
You’ve got examples to follow and entire guides to customize a Shopify theme. All you have to do now is let your creativity flow.
And if you have any questions or comments, please do share them below.
You may also like:
10 Creative International Women’s Day Campaign Ideas
12 Best Mother’s Day Marketing Ideas For Your Online Store
Frequently Asked Questions
Do I really need to customize Shopify themes?
That’s where Shopify theme customization comes in. As the business owner, YOU know your customers and your products best. You also have a full view of where improvements are needed. Therefore, YOU should be the one to decide details on your own website.
